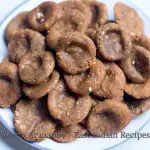
Chitaps – Rice Flour crepes
Prepare to unlock the secrets behind creating the most delectable Chitaps – East Indian Rice Crepes that will entice even the most discerning food lovers. Traditionally made for festive occasions, these can easily be made into everyday savory bread too.
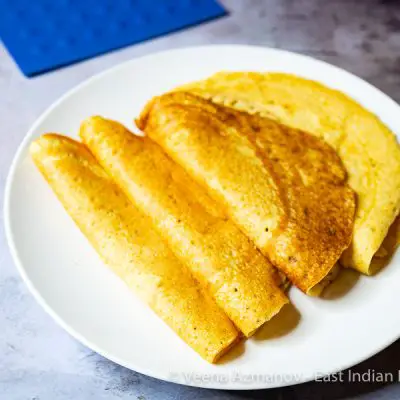
Chittaps, Chitiaps or chittaps are often the common spellings used for these rice flour crepes. They are soft, porous, delicious pancakes made by East-Indians using rice flour, flour, and coconut milk. These are fermented then cooked on a special chittaps skillet. But a non-stick works just as well.
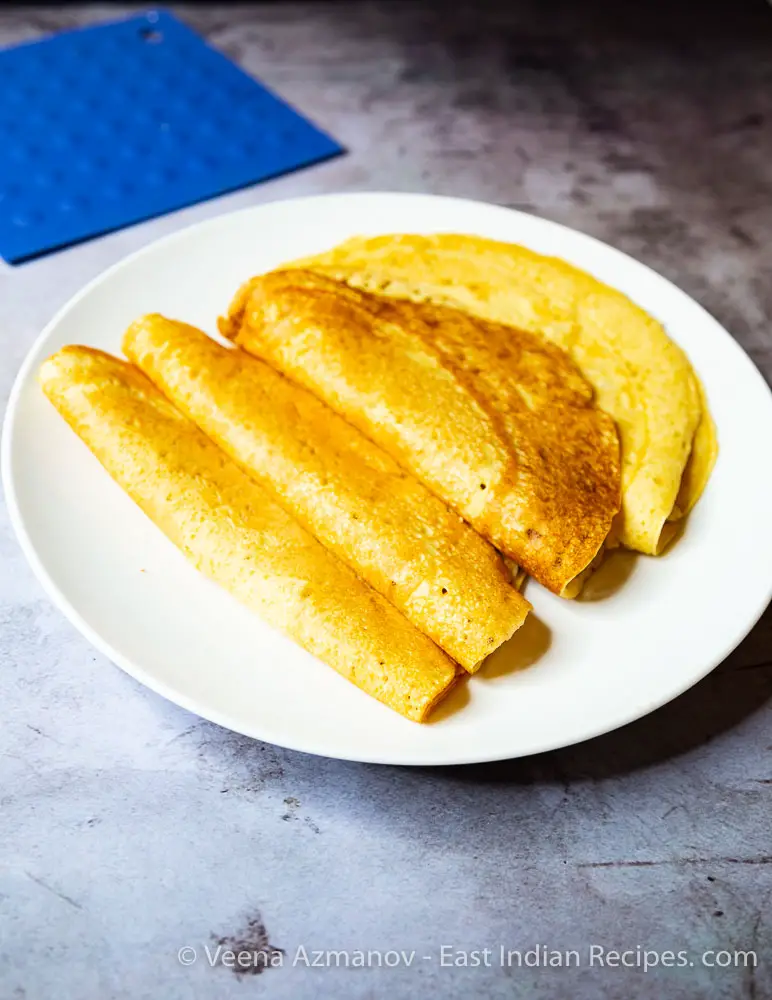
As a kid I only remember eating chitiaps at weddings. I use to call them east-Indian dosa. I loved the coconut flavor and the slightly sweet taste. Originally they are quite white in color but I always add turmeric or haldi to mine.. because I just like the wonderful golden color haldi brings to it. But, you can certainly omit it.
What are chitaps
Chitaps, also known as East Indian Rice Crepes, is a culinary delight that has captured food enthusiasts’ hearts and taste buds worldwide. But what exactly are these delectable crepes?
Chitaps are thin, delicate rice crepes made from a batter of rice flour, all-purpose flour, and coconut milk. These crepes are soft and slightly chewy, making them incredibly enjoyable to eat. They are typically cooked on a flat skillet or griddle, resulting in thin and perfectly golden brown crepes.
What sets Chitaps apart from other crepes is the use of coconut milk in the batter. This addition adds a subtle hint of sweetness and imparts a rich, creamy flavor to the crepes. The coconut milk also contributes to the softness of the Chitaps, giving them a melt-in-your-mouth quality that is simply irresistible.
One of the fascinating aspects of Chitaps is their versatility. While they can be enjoyed on their own, Chitaps are often paired with an array of delicious fillings. From savory options like spiced potatoes or minced meat to sweet combinations like coconut and jaggery, the possibilities are endless. These fillings not only add a burst of flavor but also provide a delightful contrast to the delicate texture of the crepes.
Chitaps are a beloved dish in East Indian cuisine, where they are traditionally served during special occasions and festive celebrations. The process of making Chitaps is considered an art form, requiring patience, skill, and attention to detail. Mastering the art of Chitap-making will not only elevate your culinary repertoire but also allow you to create mouthwatering delights that will impress even the most discerning of palates.
Master the Technique of Making Chitaps
- To master the technique of making Chitaps, it all starts with the batter. Once all the ingredients are combined, it’s time to bring the batter to life. Gradually add water to the mixture while stirring continuously. The key here is to achieve a smooth consistency without any lumps. The batter should be thin enough to spread easily on the pan but not too watery.
- Nest, let the batter rest for at least 2 hours, or ferment overnight.
- With the perfect batter in your hands, it’s time to heat up the pan. Place a non-stick or cast-iron skillet on medium heat and lightly grease it with oil or ghee. Allow the pan to heat up before moving on to the next step. A hot pan is essential to ensure the Chitaps cook evenly and develop that signature golden-brown color.
- Now, take a ladleful of the batter, pour it onto the center of the pan, and swirl the pan to ensure the batter spreads to the entire surface. The goal is to create a thin layer of batter that covers the entire surface of the pan.
- Once you’ve spread the batter, cover the pan with a lid and let it cook for a few minutes. Traditionally, the chitaps aren’t flipped because one side is supposed to be white! But, if you prefer you can certainly flip them.
Pro tip – Chitap is ready to flip when the edges start to curl up slightly and the center appears cooked. Using a spatula, carefully loosen the edges and flip the Chitap over to cook the other side. Cook for an additional minute or two until both sides are golden-brown and slightly crispy. - Repeat this process with the remaining batter, adjusting the heat and greasing the pan as needed. As you continue to make Chitaps, you’ll develop a rhythm and a better sense of timing. Remember, practice makes perfect, so don’t be discouraged if your first few attempts aren’t flawless.
Tips for making chitaps
- The first is the consistency of your batter. Aim for a batter that is smooth and slightly thick, similar to pancake batter. If your batter is too thin, your Chitaps will be thin and fragile. On the other hand, if your batter is too thick, your Chitaps will turn out dense and heavy. Finding the right balance may take a few tries, but remember that practice makes perfect.
- Another important aspect of achieving the ideal texture is getting the temperature of your pan just right. The pan should be hot enough to create a sizzle when you pour the batter, but not so hot that it burns the Chitaps before they are fully cooked. Start with medium heat and adjust as needed. If the Chitaps are browning too quickly, lower the heat. If they are taking too long to cook, increase the heat slightly.
- Greasing the pan properly is also essential for achieving the desired texture. Before pouring the batter, make sure the pan is evenly coated with oil or ghee. This will prevent the Chitaps from sticking and help them develop a crisp exterior. Use a brush or a paper towel to distribute the oil evenly across the pan’s surface.
- As you continue to make Chitaps, you’ll develop a rhythm and a better sense of timing. Remember, practice makes perfect, so don’t be discouraged if your first few attempts aren’t flawless. With each batch, pay attention to your technique and adjust accordingly to achieve the ideal texture. Before you know it, you’ll be churning out perfectly textured Chitaps that will impress even the most discerning palates.
Creative ways to serve
Think beyond the traditional coconut and jaggery filling and experiment with various savory and sweet options.
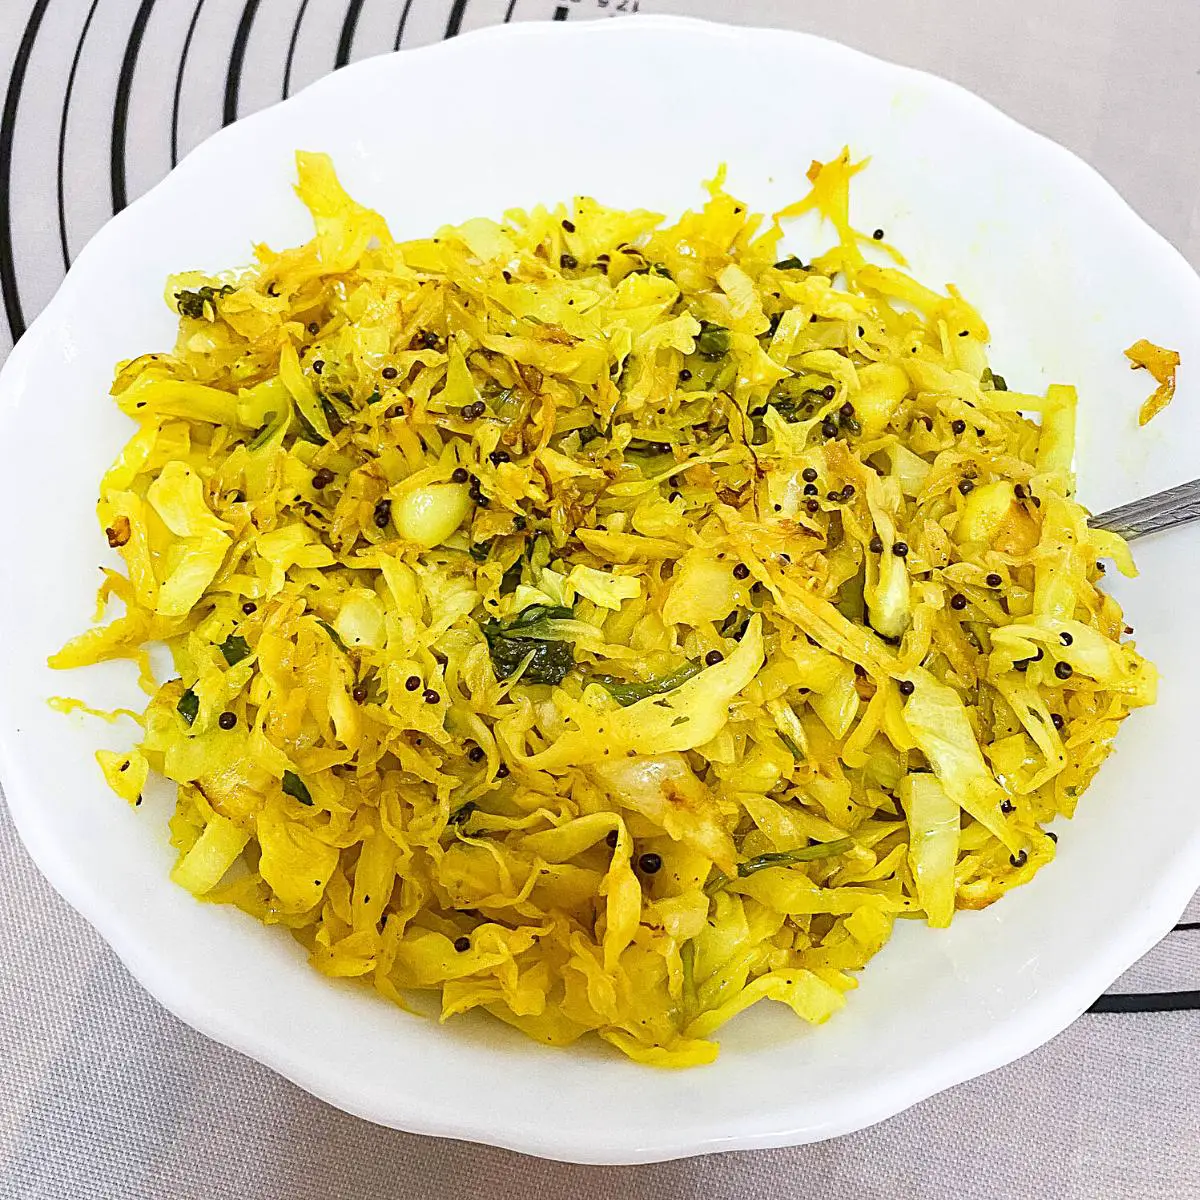
- For a savory twist, try filling your Chitaps with spiced potatoes, sautéed vegetables, or even a delectable mix of paneer and spices. Combining the delicate crepes and rich, savory fillings will leave your guests craving more.
- On the sweeter side, the options are equally enticing. Consider filling your Chitaps with a medley of fresh fruits and a drizzle of honey or maple syrup. You can also indulge in the classic combination of chocolate and bananas, or explore the subtle sweetness of cardamom-infused ricotta cheese.
- Remember, the key to truly impressing your guests with creative fillings is to strike a balance between flavors, textures, and presentation. Aim for a beautiful contrast of colors and a harmonious blend of sweet and savory notes. Your Chitaps will not only be a delight to the taste buds but also a feast for the eyes.
Frequently asked questions
Lumpy batter can happen if the rice flour is not properly sifted before mixing. To ensure a smooth batter, make sure you sift the rice flour well to remove any clumps. Additionally, ensure that the rice flour and water are mixed thoroughly, using a whisk or spoon, until the batter is completely smooth.
If your Chitaps are sticking to the pan, it may be because the pan is not properly seasoned. Before making Chitaps, make sure to season your pan by heating it and applying a thin layer of oil. You can also use a non-stick pan or add a little oil to the pan between each crepe to prevent sticking.
If your Chitaps are thicker than desired, it could be due to the batter being too thick. To adjust the consistency, you can gradually add small amounts of water to the batter until it reaches the desired thickness. Remember, the batter should be thin enough to spread easily on the pan but not too watery.
Making round Chitaps takes practice, but there are a few tricks you can try. Firstly, Swirl the pan so it spreads evenly. This will help create a more even shape. You can tilt the pan slightly to spread the batter evenly and form a round crepe.
Absolutely! Chitaps can be made in advance and stored for later use. Once cooked, allow the Chitaps to cool completely, then stack them with a layer of parchment paper or cling wrap between each crepe to prevent sticking. Store them in an airtight container in the refrigerator for up to 2-3 days. When ready to serve, simply reheat them in a pan or microwave.
Pin this and other East-Indian Recipes on Pinterest here. Don’t forget to like and Follow for more recipes.
Ingredients
- ½ cup (80 g) Rice flour
- 1 cup (125 g) All-purpose flour maida
- ¼ tsp Kosher salt
- 2 tbsp Sugar
- 1 Cup (240 ml) Coconut milk
- 1 – 1½ cup (300 ml) Warm water (110 F) traditionally toddy water is used
- 1 tsp Instant yeast or toddy
- 1 large Egg
Plus
- 1/4 cup Cooking oil to grease the pan
- 1/4 tsp Turmeric powder haldi for color (optional)
Instructions
- Dry ingredients – Combine rice flour, all-purpose flour, salt, and sugar in a large mixing bowl½ cup Rice flour, 1 cup All-purpose flour, ¼ tsp Kosher salt, 2 tbsp Sugar
- Wet ingredients – In a large mixing bowl, combine the coconut milk, yeast, egg, and water. Use a whisk to ensure no lumps. Leave to rest for 3 to 5 minutes until foamy.1 Cup Coconut milk, 1 – 1½ cup Warm water, 1 tsp Instant yeast, 1 large Egg
- Combine – Add the dry ingredients to the wet ingredients and combine well with a whisk to ensure no lumps.
- Rest/ferment – Cover the bowl and leave to rest in a warm place for 2 hours. Pro tip – Traditionally the batter is fermented for at least 8 hours.
- Consistency – after the resting time, adjust the consistency of the batter with more water or coconut milk.
- Pan – Heat a cast-iron skillet on medium-low heat. Lightly grease the pan with oil – wipe off any excess oil.1/4 cup Cooking oil
- Crepe – Pour about 1/3 cup batter into an 8-inch non-stick frying pan. Twirl the pan and let the mixture spread evenly into a thin layer.Pro tip– traditionally, a specially designed cast iron chitap pan is used for this recipe.
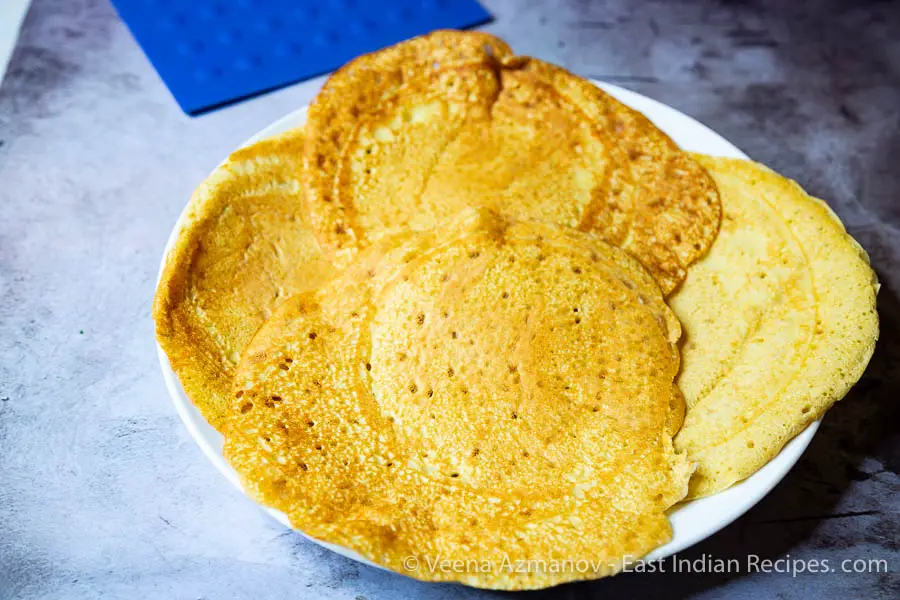
- Cook – Cover the pan with a lid and cook for a few minutes until the chittap is ready. Traditionally, chitaps are cooked on only one side. Pro tip – When done the edges will be slightly crisp and leave the sides. There will be lots of holes on the surface.
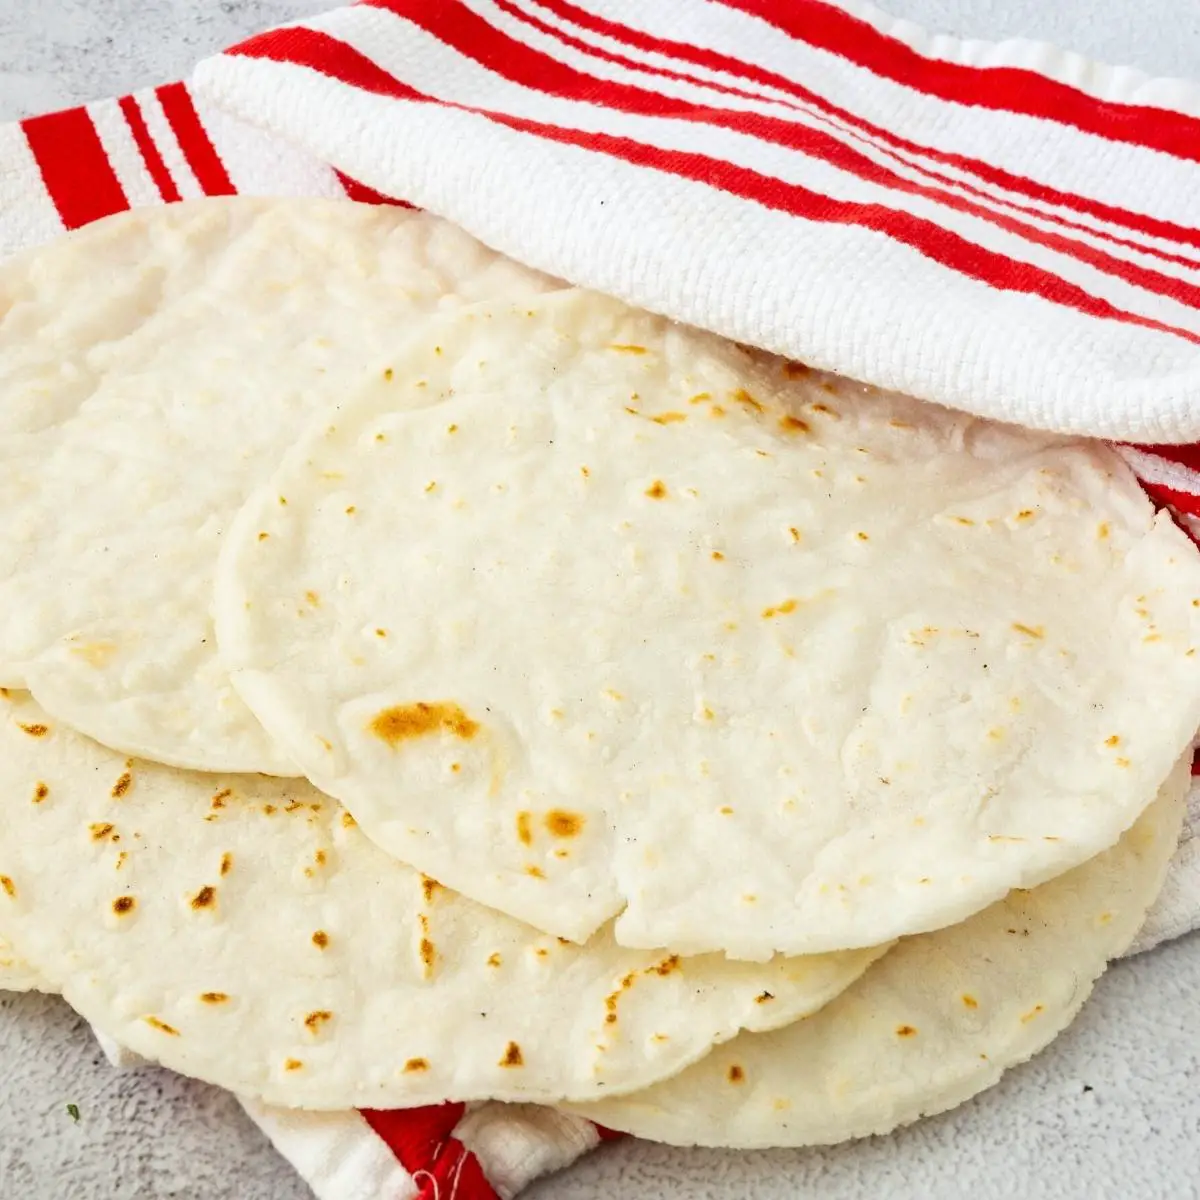
- Process – Continue the same way with the rest of the batter until all the batter is used up. Store the chipas in clean fresh kitchen towels to prevent them from drying.
Recipe Notes
-
- The first is the consistency of your batter. Aim for a batter that is smooth and slightly thick, similar to pancake batter. If your batter is too thin, your Chitaps will be thin and fragile. On the other hand, if your batter is too thick, your Chitaps will turn out dense and heavy. Finding the right balance may take a few tries, but remember that practice makes perfect.
- Another important aspect of achieving the ideal texture is getting the temperature of your pan just right. The pan should be hot enough to create a sizzle when you pour the batter, but not so hot that it burns the Chitaps before they are fully cooked. Start with medium heat and adjust as needed. If the Chitaps are browning too quickly, lower the heat. If they are taking too long to cook, increase the heat slightly.
- Greasing the pan properly is also essential for achieving the desired texture. Before pouring the batter, make sure the pan is evenly coated with oil or ghee. This will prevent the Chitaps from sticking and help them develop a crisp exterior. Use a brush or a paper towel to distribute the oil evenly across the pan’s surface.
- As you continue to make Chitaps, you’ll develop a rhythm and a better sense of timing. Remember, practice makes perfect, so don’t be discouraged if your first few attempts aren’t flawless. With each batch, pay attention to your technique and adjust accordingly to achieve the ideal texture. Before you know it, you’ll be churning out perfectly textured Chitaps that will impress even the most discerning palates.
About Videos – most recipes has two videos – a quick version in the post & longer detailed version on this recipe card. Please do subscribe to my channel if you like my videos
Nutrition Information
The nutrition information and metric conversion are calculated automatically. I cannot guarantee its accuracy. If this data is important to you please verify with your trusted nutrition calculator. Thank you